61 Tips and Tricks for Durango: Wild Lands [Beginner’s Guide]
![61 Tips and Tricks for Durango: Wild Lands [Beginner’s Guide]](https://onlinefanatic.com/wp-content/uploads/2019/05/durango.png)
By JCF
A big thanks to JCF for the information in the video above.
61 Tips for Durango: Wild Lands
After almost two years of Beta testing, Nexon is finally releasing Durango Wild Lands to the global In fact, today is the first day it is available in North America.
The game starts out with a normal train ride, but then a time warp creates an alternate universe. In this alternate universe, we are forced to survive side by side with dinosaurs. The game is a lot of fun with some really cool concepts, but there are a few things that are not intuitive, so today I have 61 tips and tricks to help you guys get started.
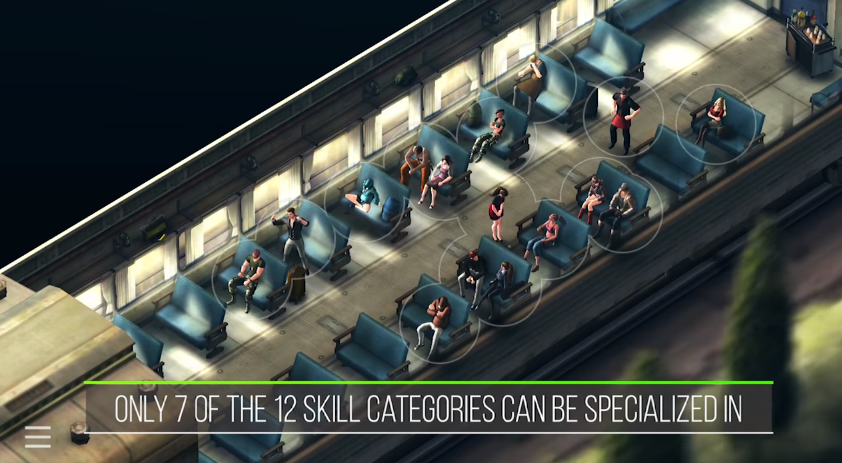
The first decision you have to make in the game is what skill you want to start out specialized in. This is not a huge decision because your skills cap out at whatever level you are, so you choose will stay at level 20 until your
character reaches level 21, so a lot of your other skills will catch up by then.
That being said, some of these specializations are better than others so let me go over Durango is not a difficult game, but if you want to make things easier for yourself, then picking the weapon/tool specialization is going to give you the biggest boost.
Being able to craft better weapons will help you in combat far more than the melee specialization, and better tools are important for getting better resources. This will also let you build a bow right away so that you can start working on your ranged skill.
But as I said, Durango is not difficult at an early level, so if you consider your self a skilled player, I recommend choosing construction. Choosing construction won’t make the game any easier for you and while you do get to build some better things around your base, the main reason I’m suggesting construction because it is the hardest skill to level up when you’re just starting off.
After you choose your specialization and appearance, the game will take you through a somewhat long tutorial. This includes fighting a raptor on the train, getting resuscitated by a strange woman named K that has the face of a 12-year-old girl, and then doing a bunch of objectives for her while she rides around on her motorcycle.
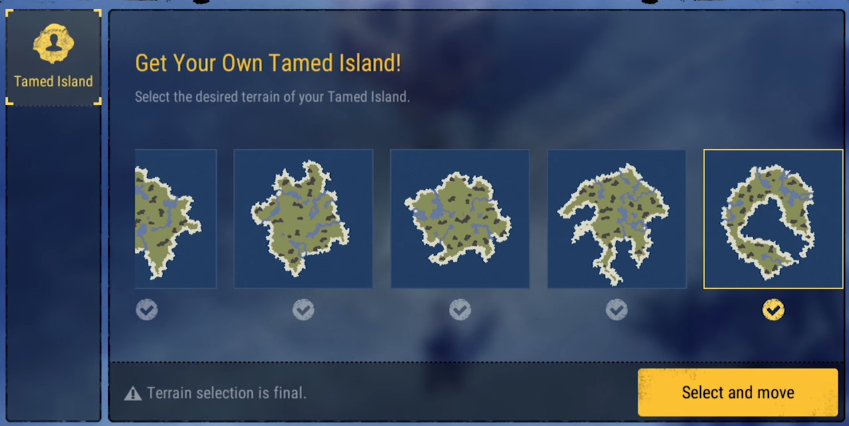
The tutorial ends with you getting on K’s new hot air balloon and floating to the island which will be your new home. When choosing your Island, keep in mind that you cannot build on the blue river or brown rock areas, so this one would be a good choice if you wanted to build a really cool port, but these would be a much better choice if you want to make a giant square with your max of 50 domain spots.
Resources on your main island do not regenerate so don’t choose your domain based on that. I recommend trying to find a place near the dock because even though you can warp to the dock from anywhere on your island, and at first you will be able to warp back to your base by clicking the “to waypoint” on your map screen, if you ever change your waypoint when you are exploring, then you will have to make the walk from your dock when you come back.
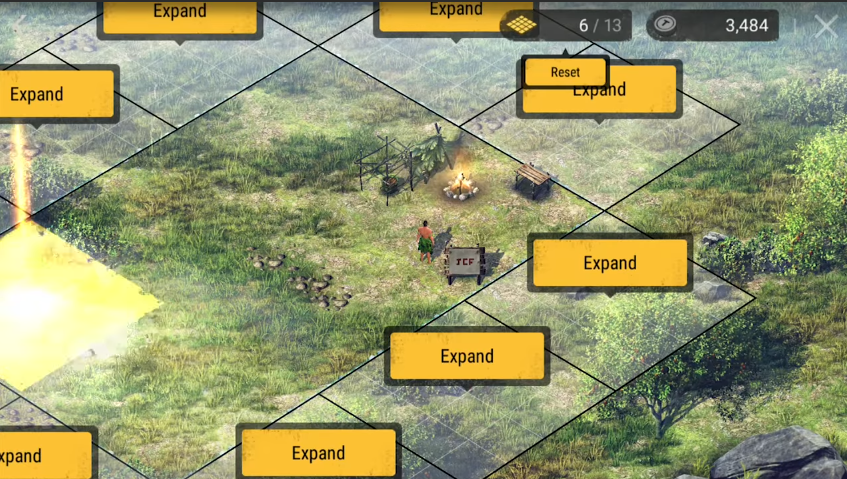
When you’re in your domain you can click this little fence for all your options related to your domain, including the ability to expand it. I recommend doing this immediately and then building at least 6 baskets to all store your stuff.100 inventory slots might feel like a lot, but it gets filled up really quickly.
That being said, depending on which island you are traveling to, it is good to keep one or two of some basic items in your backpack because missions often require you crafting items, and this will make it go much faster. Unlike similar games, in order to move a structure, you need to click the package button which will give it back to you and then you can go place it somewhere else.
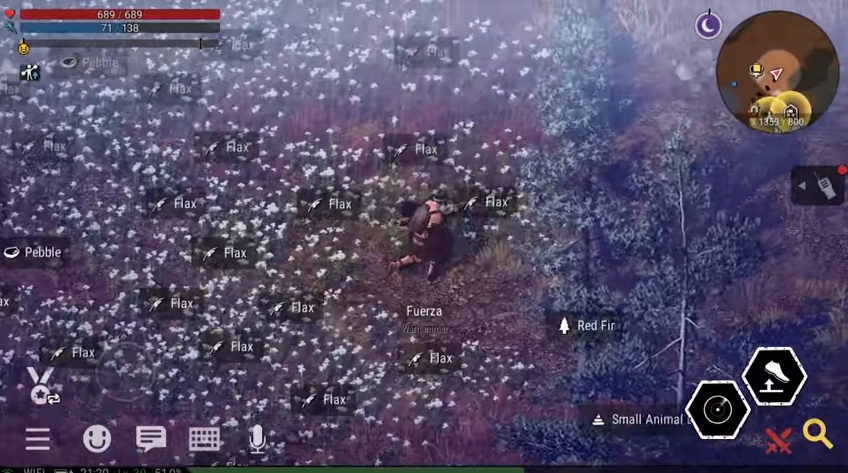
When you are farming resources, this symbol means that the source will disappear when it is collected, so make sure to gather everything else you want first. You can establish a gathering queue by clicking faster than your character can collect and it will even remember the order that you chose.
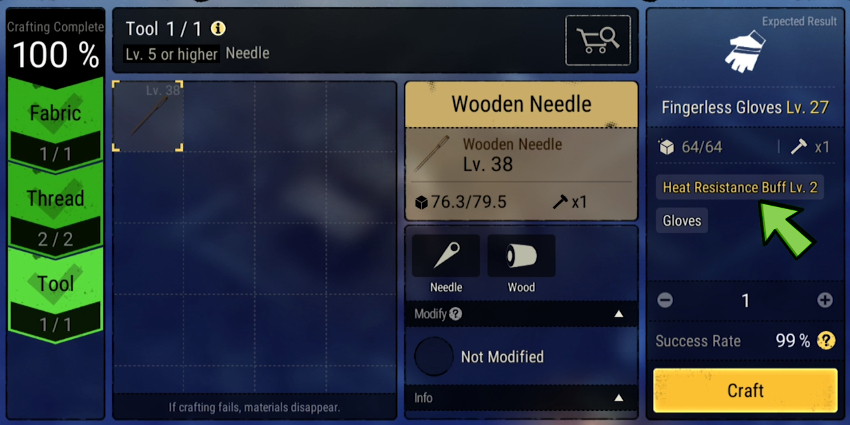
Every item you collect has its own level and every item you craft has its own level based on the items you used to craft it. This level affects the stats on that one item, so for example, a level 10 basket will have a lot more storage spaces than a level one. There is a max level for each item in the game, so higher tier items not only have better basic stats, but they also have a higher max level.
After you have made your baskets and placed all of your items in it, set sail for the level 15 island. When you get there, you will see another Communication Center and drop off point like the one you used in the tutorial. All of the islands have one of these and doing these missions will get you a ton of coins, experience, and various other rewards.
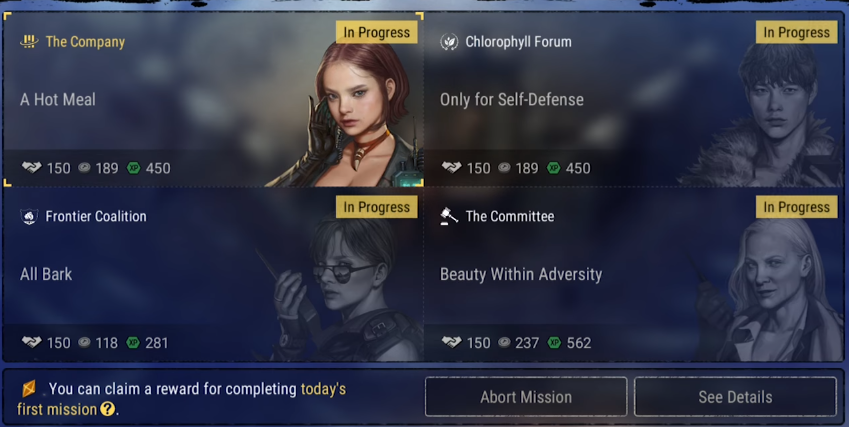
By the time you hit Level 20, you should be able to accept 4 different missions at the same time and then in addition to the awesome rewards, you will be given a relationship with four different organizations: the company, chlorophyll forum, frontier coalition, and the committee. As you rank up your trust level with these organizations, they will send you better items in the support section of the tasks menu.
The higher the level Island, the better the rewards and the more relationship points you get, so be sure to farm in the highest level Island that you can manage. Most missions will give you a little face icon, which makes them really easy to complete, but if they don’t have one of those, then you can find more information on how to complete the mission by clicking on this little info symbol.
As you complete the missions and farm for resources, you will also complete achievements in the tasks menu which gives you a ton of coins and other rewards. Make sure to collect the rewards on these as soon as they come up because many of them are daily and reset the next day.
As you travel, you can hit the magnifying glass to make sure you don’t miss something important, or you can hit the double swords so that you can see further while you run around. You can also hit the scan button which will point you to the nearest crater or warp hole.
Finding these locations gives you money, and warp holes allow you to fast travel the map. The further you fast travel, the more expensive it is, so I recommend exploring in a circle to minimize that distance and save your money. When you enter combat, movement is very different.
If you keep using your left thumb in combat, it will cause you to run away which is a very ineffective way to defeat your enemy. During combat, you can use offensive and defensive skills based on the weapon you are holding, but you need stamina in order to do this.
Your stamina automatically regenerates pretty quickly, but there is a cap based on how well you have been taking care of your character. You can restore your stamina cap by eating food, but unlike most games, you cannot consume an unholy amount of food at one time so it is important to keep your stamina high by eating a little bit here and there as you travel.
When trying to dodge, don’t click the dodge button when you see their yellow symbol. even if you have perfect reflexes, they will often hit you before your dodge is fully prepared. Rather, take a few seconds to learn that enemy’s ability pattern and then click dodge about a second before they activate their new skill.
This is not as hard as it sounds. Just pay attention to when they use their abilities and then use your intuition. You will be surprised how much more often you succeed at dodging.
If you are falling behind in the melee, ranged or defensive skill categories, then I suggest switching to a low-level weapon and fighting a Zebraceratops. Zebraceratops have a low attack and pretty high hit points so the battle will last forever allowing you to use tons of skills to max out that category.
This will also give you lots of chances to capture the Zebraceratops. The secret to doing that is simply paying attention.
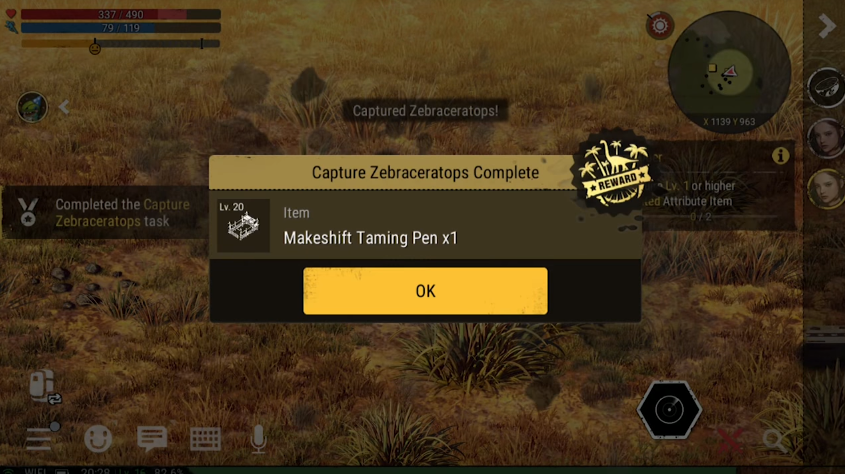
The faster you hit the capture button after they get stunned, the better the chance that you will capture the animal. For more tips and tricks on capturing animals, including which animals are the best pets, make sure to check out my video with tips and tricks for capturing animals.
If you are falling behind in certain crafting skill, you will notice the tendency to neglect that category because nothing you can build is helpful. So when this happens, I recommend gathering resources on your tamed island and then a bunch of low-level items in that category until that mastery has caught up, and then just throwing them all away.
When doing this, or anytime that you are spending a lot of time at your base, you will probably find it helpful to click this lock symbol so that you have easier access to your crafting, skills inventory, and character. No one has enough skill points to get every skill, so you will eventually need to specialize,but keep in mind that you can unlearn five skills a day for free so even if you’re not planning on being an amazing tailor in the game, you can still feel the freedom to apply skill points in that area knowing that you can get them back later.
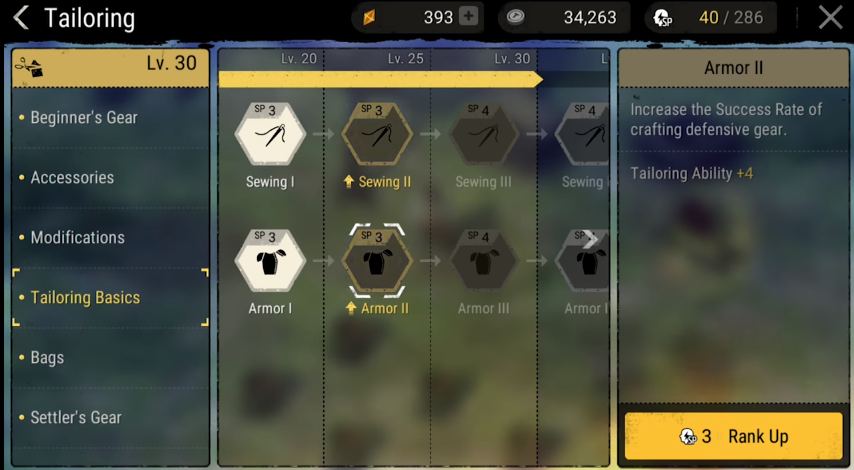
This is particularly helpful with success rate skills since they save you time farming, but they aren’t essential for unlocking items. So learn the skill while you’re low level and then unlearn it later on when you need the skill points.
So that should get you guys started on the game, but in addition to these 53 tips and tricks, I have eight more for you. I recommend creating or joining a clan as soon as you can, because every point of experience you get for leveling up your character also gives your clan that same amount of experience so the longer you wait, the less experience you contribute to your clan.
You are given a free necklace and backpack expansion during the tutorial so make sure to equip them when you hit Level 10 and then
15.
If you really want an item that you cannot get, then you can buy it on the Island Market for coins. I don’t recommend doing this a lot at first, but as we get higher levels and specialization becomes more important, then we will need to learn how to work the market.
I recommend scanning through settings because they have set up some really cool options. For example, they allow you to turn off game notifications during night hours which is kind of a cool touch.
Getting all the skills to complete a career guide gives good rewards and is the only way to gain reputation points with the organization Radio University, so make sure to complete them and then just unlearn the skills you aren’t going to use. After you arrive at the location of a mission, you do not have to complete the rest of the mission at that location.
This is particularly helpful on islands that are too difficult for you. When turning in missions, be careful not to use autofill because if you are not careful, you may give away a high-level tool that you need.
And lastly, when you die you will drop everything in your backpack. The only thing that you will keep is the items that are equipped. Luckily, you can go back to where you died to get those items and no one is allowed to steal them in the meantime.


